

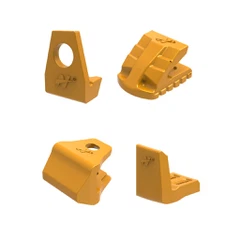


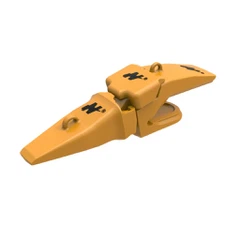


Bucket teeth are crucial for improving an excavator's performance by enhancing its digging and penetration capabilities. Over time, worn-out bucket teeth need to be replaced to maintain maximum productivity. With the right tools and instructions, installing new bucket teeth can be a smooth process. Here's how to do it effectively:
1. Gather the Necessary Tools and Materials
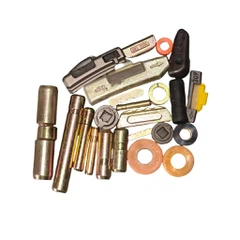
Before beginning the installation, ensure you have all the essential tools on hand. Here's what you'll need:
Hammer or mallet: To secure the teeth in place.
Pin removal tool or punch: For removing the old teeth or pins.
New bucket teeth and pins: Make sure they're compatible with your excavator bucket model.
Safety equipment: Gloves, safety glasses, and steel-toe boots for protection.
With the right tools, the installation process will be efficient and safe.
2. Remove the Old Bucket Teeth
The first step is to remove the worn-out teeth. Follow these steps:
Loosen the pins: Use a pin removal tool or punch to tap out the retaining pins securing the old teeth.
Remove the old teeth: Once the pins are out, the old teeth should slide off easily. If they're stuck, gently tap them free with a hammer or mallet.
Remove any debris: Ensure no remnants of the old teeth or pins are left behind.
3. Clean the Bucket Shanks
Once the old teeth are removed, clean the mounting points on the bucket shanks to ensure the new teeth fit securely. Use a wire brush or cloth to remove any dirt, rust, or debris. A clean surface helps prevent wear and ensures proper attachment of the new teeth.
4. Install the New Bucket Teeth
Now that your bucket shanks are clean, it's time to install the new teeth:
Position the new teeth: Slide the new teeth onto the bucket shanks, making sure they align correctly with the mounting holes.
Insert the retaining pins or bolts: Insert the retaining pins through the holes in the teeth and the shanks. If your system uses bolts, simply insert and tighten them.
Secure the pins: Use a hammer or mallet to tap the pins securely into place. This prevents the teeth from loosening during operation.
Double-check that all teeth are properly aligned and securely attached before proceeding.
5. Inspect and Test the Installation
After installation, conduct a final inspection:
Ensure alignment: Check that all teeth are aligned correctly and that the pins are fully seated.
Test the attachment: Run a quick test by operating the excavator. Try digging into a soft surface to ensure the teeth are functioning as expected and remain secure.
If everything is secure and functioning well, you're done!
Why Choose FHND Bucket Teeth?
High Durability: Designed to withstand tough working conditions and increase the lifespan of your excavator bucket.
Easy Installation: Our bucket teeth are engineered for easy and secure installation.
Custom Solutions: Tailored to fit a wide range of excavators, from compact machines to heavy-duty models.
Global Shipping: We offer worldwide delivery with fast and reliable shipping options.
Quality Control: Rigorous testing ensures that our bucket teeth meet the highest standards of performance and durability.
By following these steps, you can easily replace your excavator's bucket teeth and ensure the continued efficiency of your equipment. Ready to upgrade? Explore our range of high-quality bucket teeth designed for various applications.